Follow the steps below to obtain Lync for Mac 2011 and how to set it up on your Apple Mac.
Lync for Mac 2011 download is available via logging onto web mail on a Mac.
Follow these steps to obtain the software.
Log on to mail.rhul.ac.uk. Log on to mail.rhul.ac.uk, at the top right of the page click on the cog wheel and select "Office 365 settings". In Office 365 settings click Software then under the Lync heading, click Install.
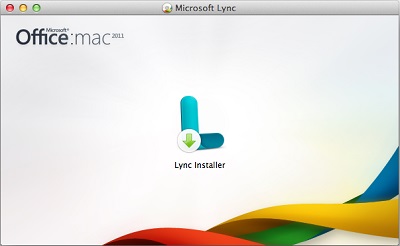
On the downloads page at the bottom click Install at the bottom of the page.
Quick install steps
- Run the installer to install Lync for Mac 2011, then install "Update for Lync for Mac 2011" - KB2952672.
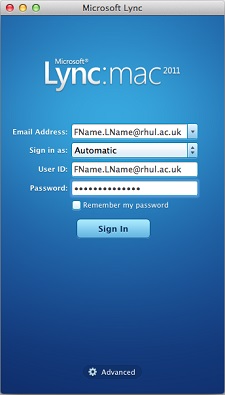
Then check for updates in Microsoft Office and install any updates found. Don't skip this step. - Start Lync, Input your email address using the FirstName.LastName@rhul.ac.uk format, add your password and user name being your email address.
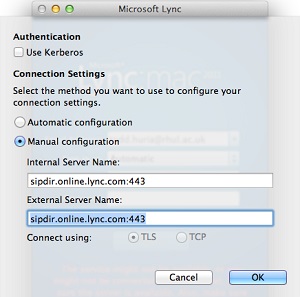
- Click advanced and select the Manual configuration.
In both the Internal and External server name field put the following: sipdir.online.lync.com:443 - Save, then sign in to Lync.
Full installation steps
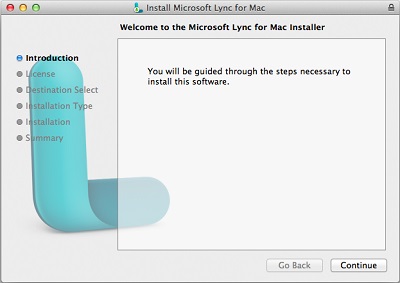
- Run the installer
- Click Continue
- Click Continue

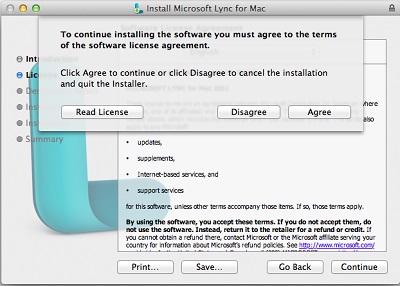
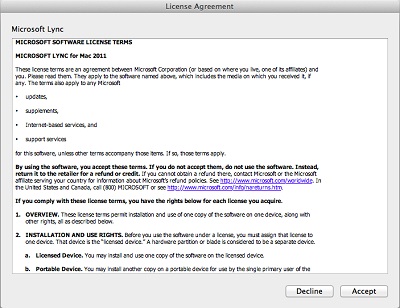
- Agree to the licensing and click Continue
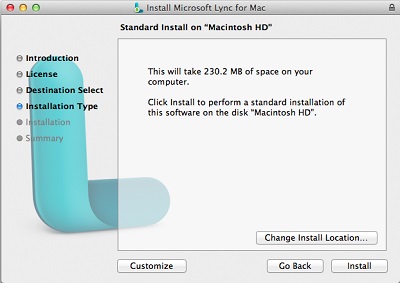
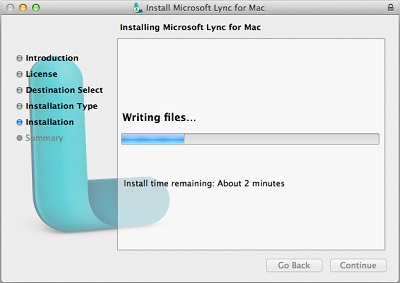
- Click Install to start the install process
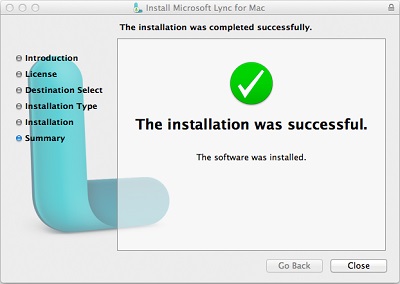
- Confirmation the install was successful
- The software may check for updates for this software before use. Please download and install these before continuing.
Manually get the update - Lync for Mac 2011 - KB2844274 by clicking here
Starting Lync for the first time you will need to Accept the Lync license agreement.
- Enter your email address in the Firstname.LastName@rhul.ac.uk format, add this to the User ID field too.
The Sign in as drop down allows you to set a status when logging in i.e. Busy, Off work, Do not Disturb.
Click Advanced and select the Manual configuration.
In both the Internal and External server name field put the following: sipdir.online.lync.com:443 - Click Ok then Sign In.